This recipe for Cream Cheese Stuffed Pretzels is inspired by one of my favorite snacks at Disney Parks. It adds a light and sweet cream cheese filling to a fresh homemade pretzel. Make these stuffed pretzels for a party, or enjoy them at home as a snack!
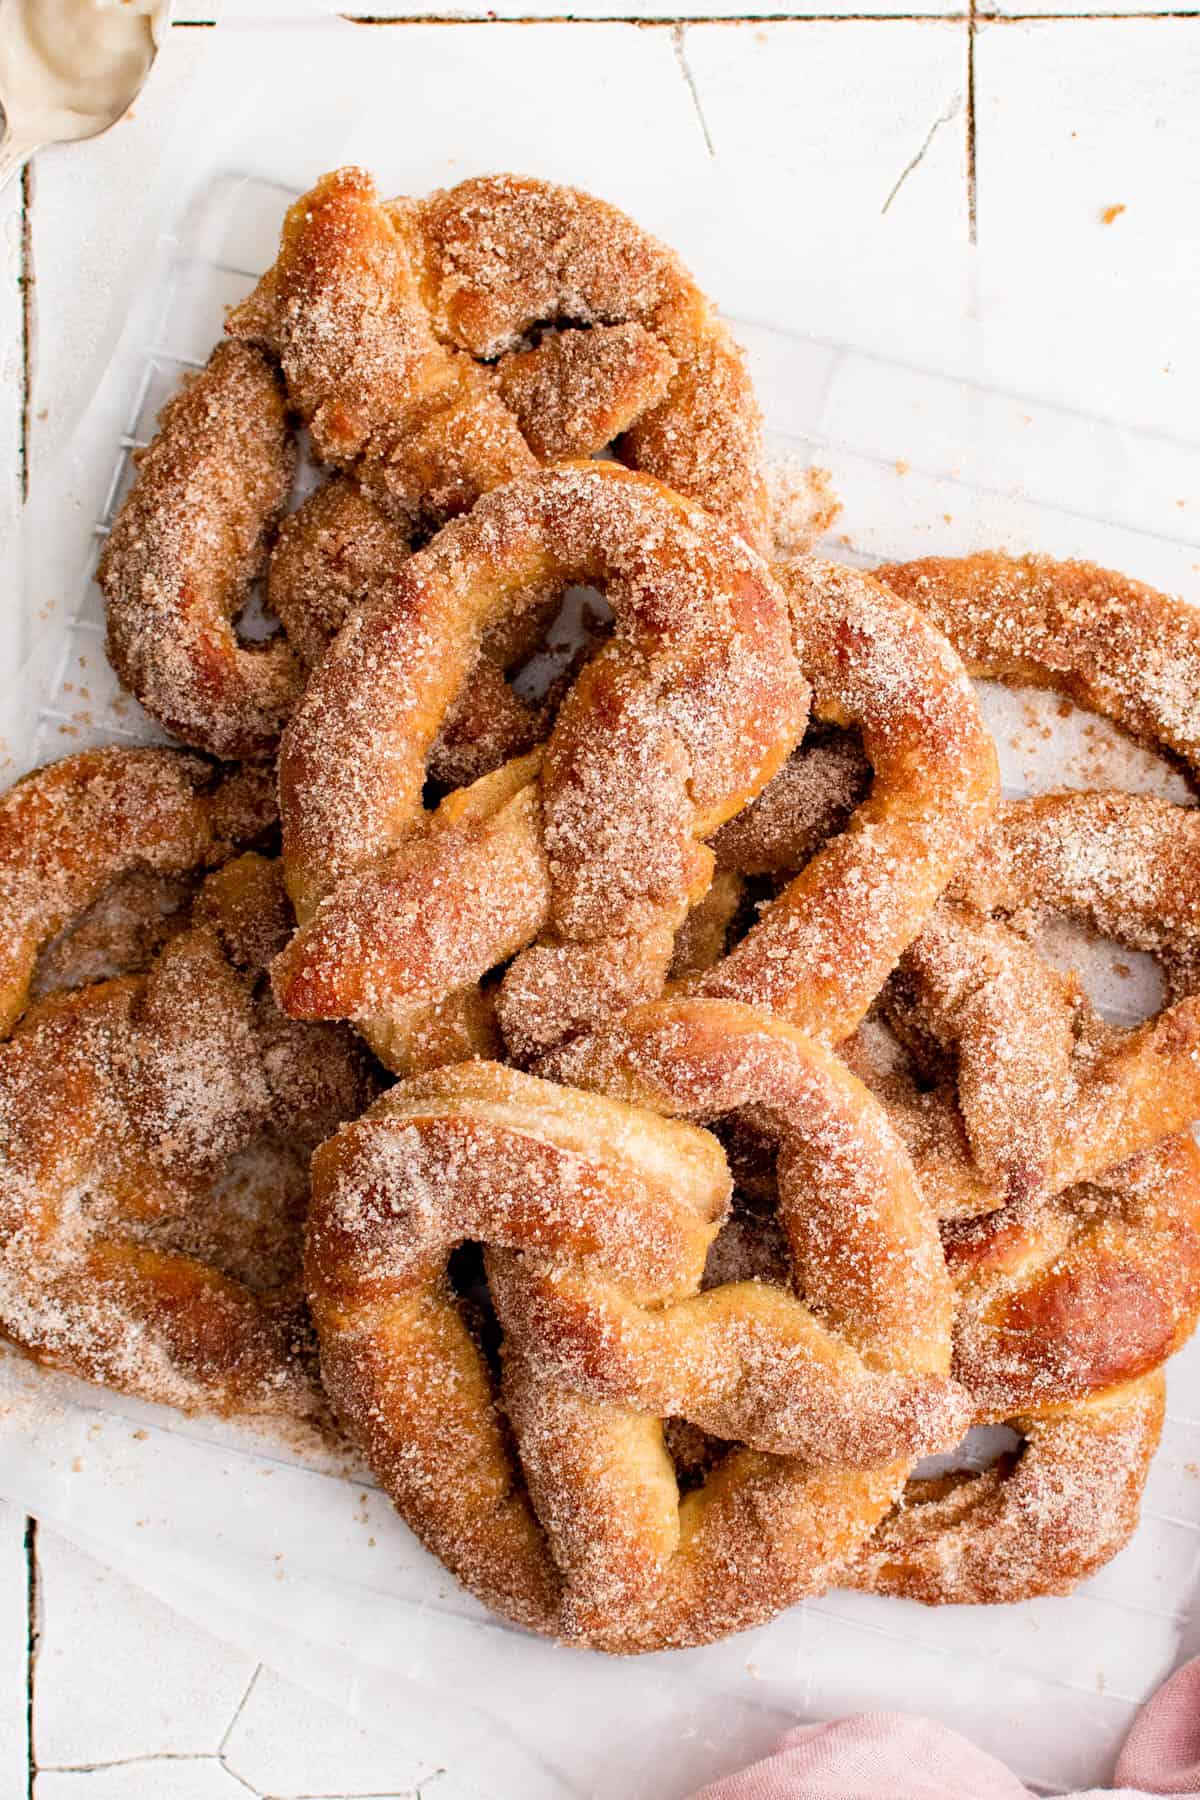
Every now-and-then we love to indulge in soft pretzels. This recipe for cream cheese stuffed pretzels is inspired by one of my favorite Disney Parks snacks. I first discovered this pretzel at Magic Kingdom Park in Walt Disney World. Since we love these pretzels, I decided to make my own homemade version.
Although there are quite a few steps involved because you need to prep, shape, stuff and bake the dough, making homemade soft pretzels is easier than you think. You probably already have all of the ingredients in your pantry!
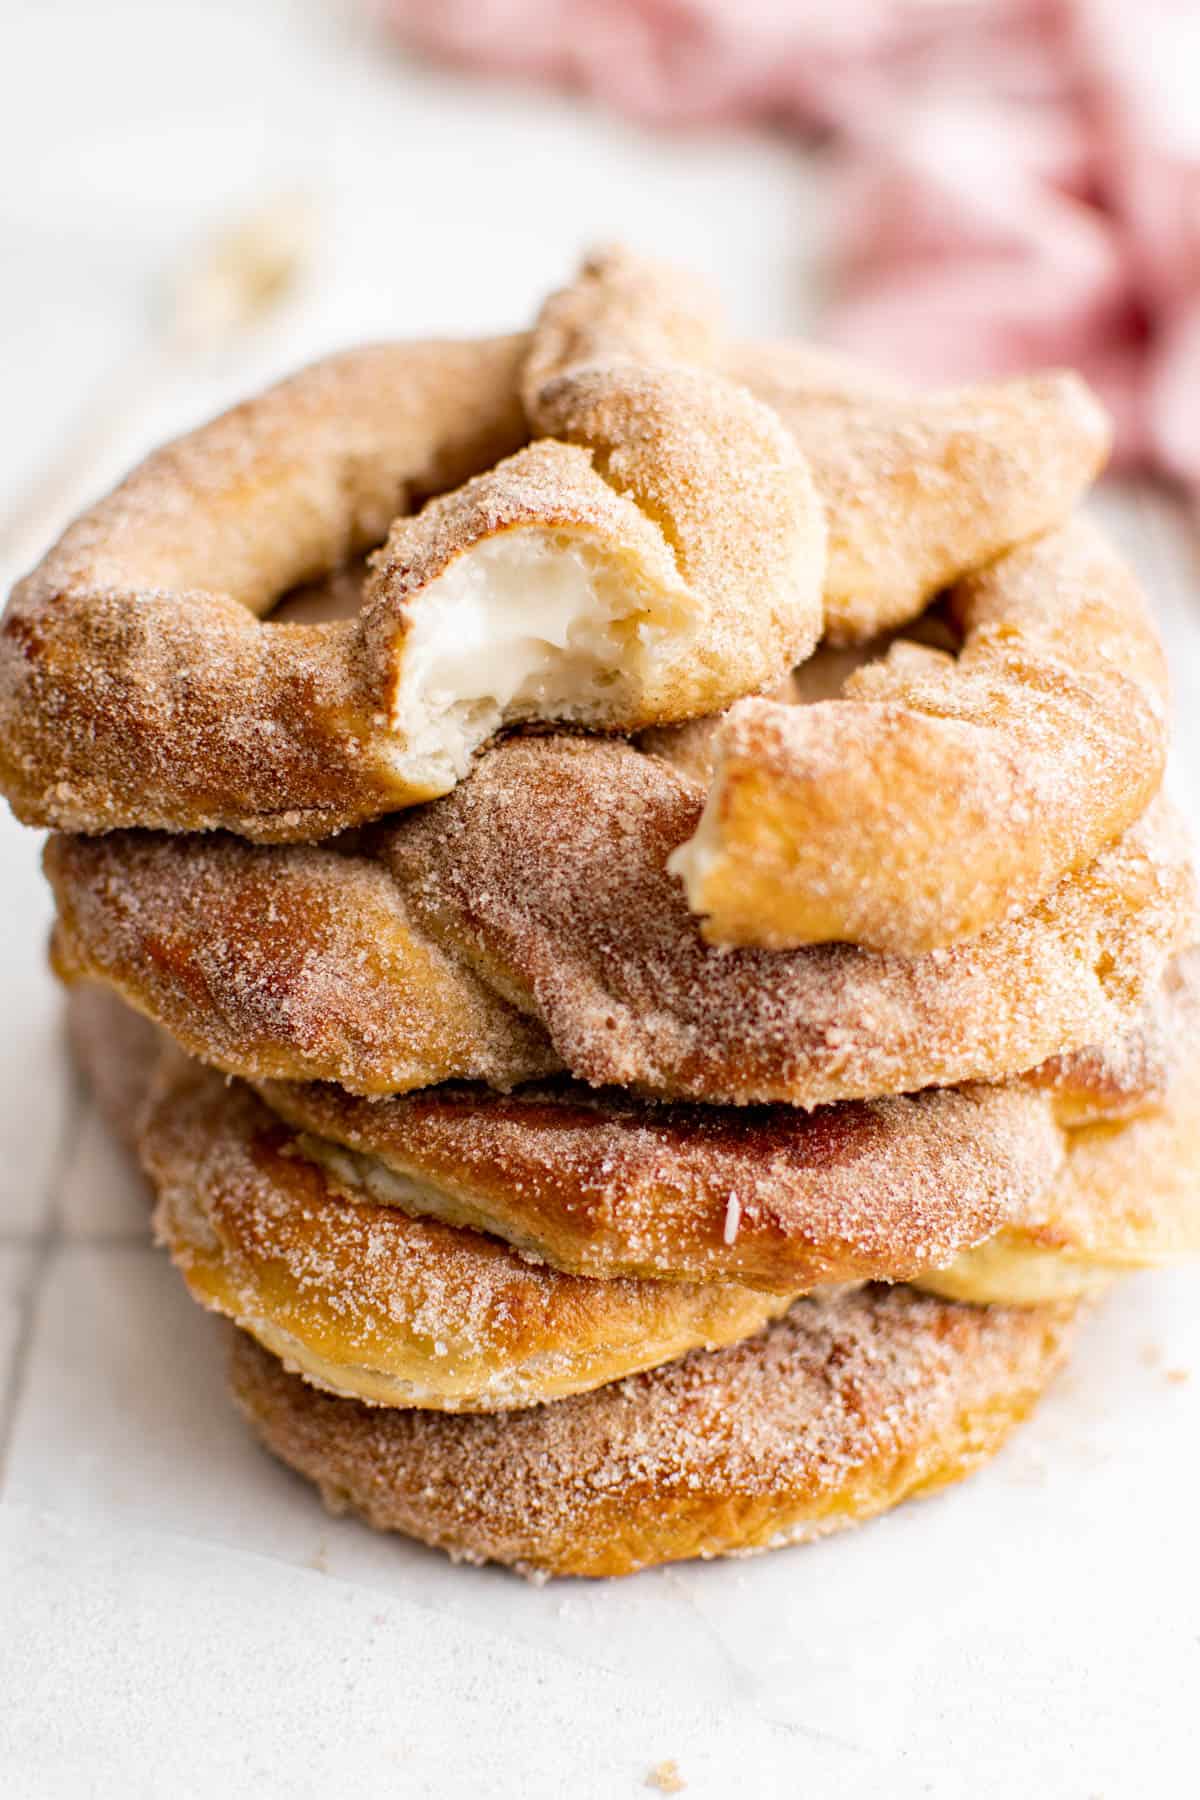
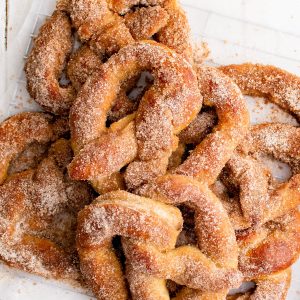
These aren’t your ordinary stuffed pretzels. The dough is perfectly chewy and dusted with a coating of cinnamon and sugar. The inside, which is the best part, is stuffed with a light filling of tangy cream cheese mixed with sugar and vanilla for a soft pretzel that has a perfect texture and flavor.
Why You’ll Love This Recipe
- It’s a unique way to enjoy a soft pretzel.
- They are made with basic ingredients.
- Enjoy a classic Disney treat right at home.
- You can customize the cream cheese filling and make it sweet or savory.
- It’s great as a party appetizer or snack.
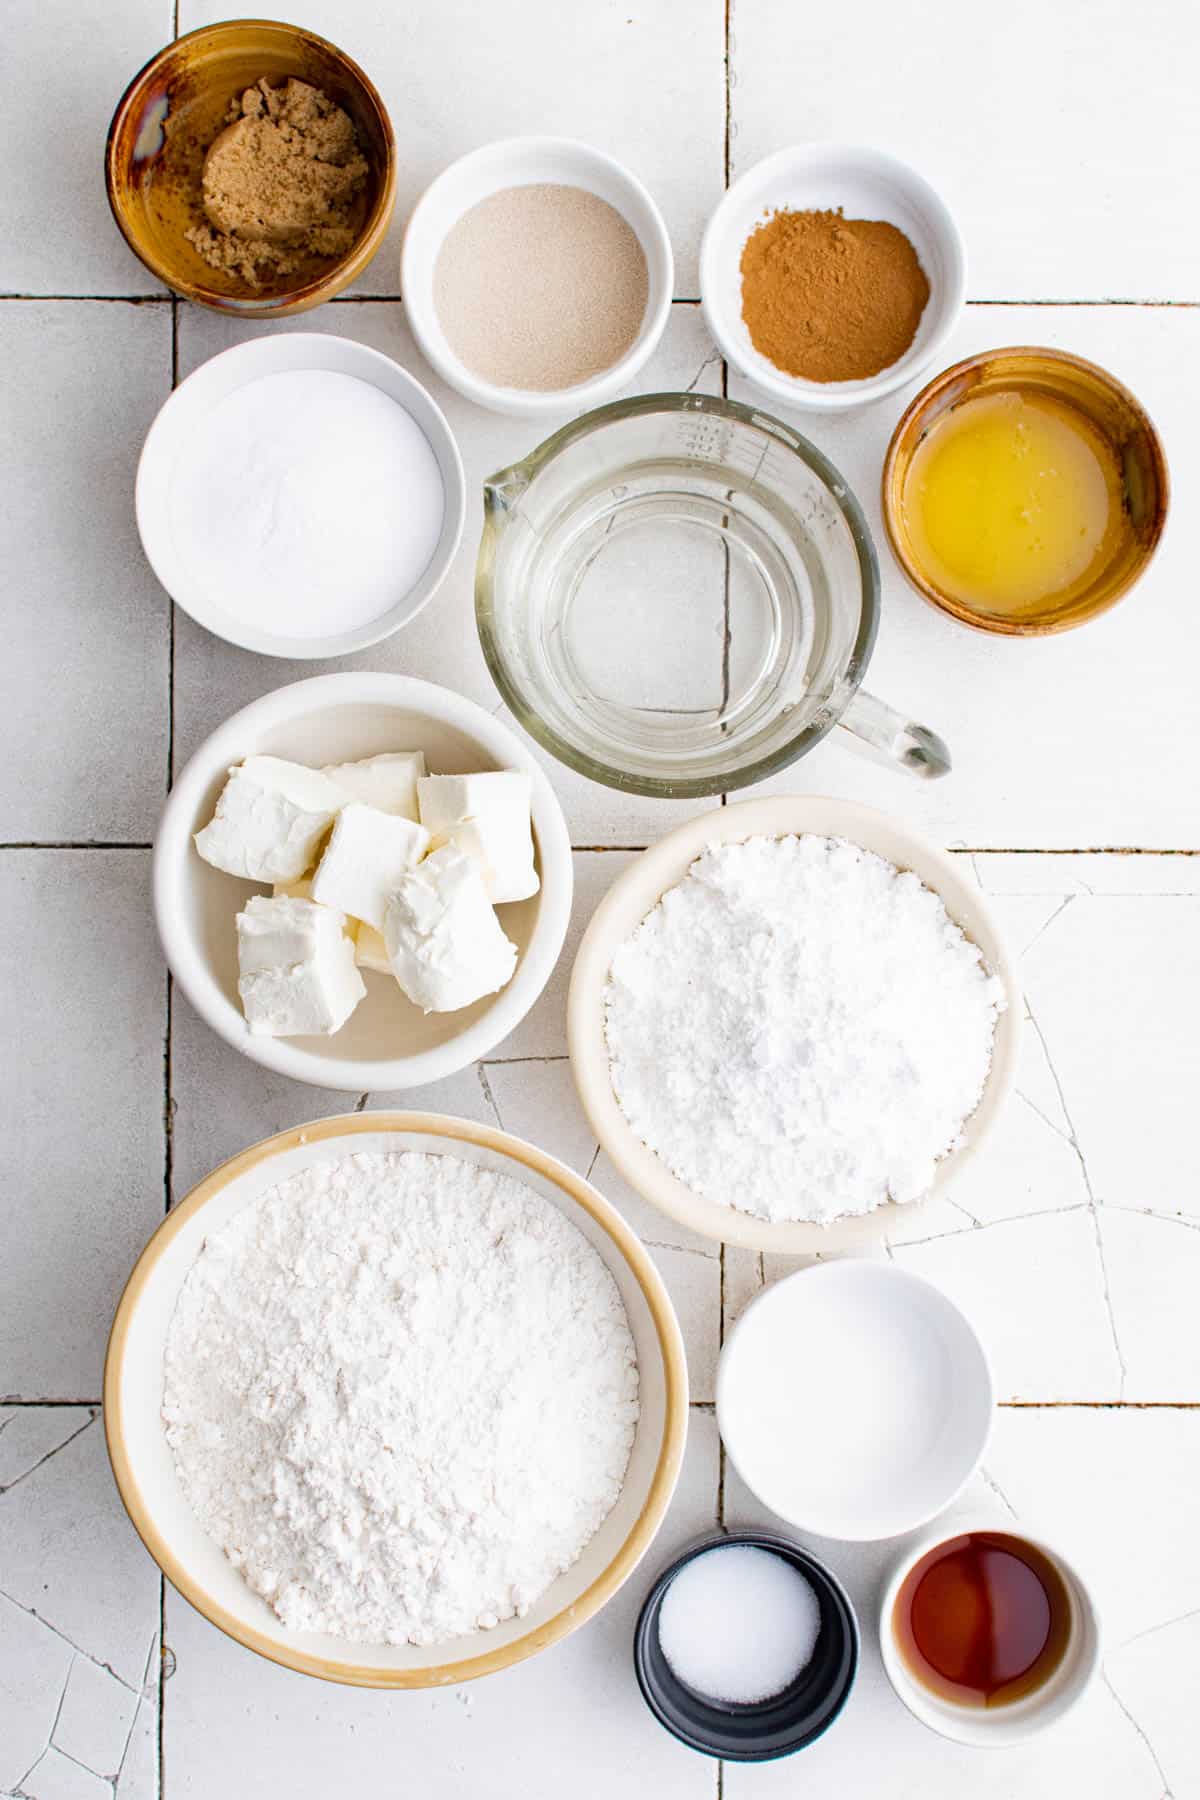
Ingredients You’ll Need
For the pretzels:
- Hot Water – Helps to activate the sugar and yeast and bring together the dough.
- White & Brown Sugar – You’ll need a mix of light brown sugar and granulated sugar for flavor and to help feed the yeast.
- Active Dry Yeast & Baking Soda– Adds a fluffy texture to the pretzel when baked.
- Butter – Gives this pretzel dough a smooth texture and buttery flavor.
- Salt – Helps balance the flavors in the pretzel dough.
- All-Purpose Flour – The main dry ingredient that brings everything together.
Cream Cheese Stuffing:
- Cream Cheese – Adds a lightly creamy and tangy texture to the filling.
- Powdered Sugar – Used to give the filling a sweet flavor.
- Vanilla Extract – Pairs well with cream cheese and sugar for a light vanilla flavor.
Topping:
- Granulated Sugar & Cinnamon – These two ingredients give the pretzel a sweet and warming flavor that pairs well with the tangy cream cheese filling.
The original Disney Parks cream cheese stuffed pretzel includes a dusting of graham cracker crumbs on the outside of the pretzel. The cinnamon and sugar adds more flavor so it’s what I prefer, but you can also add crushed graham cracker crumbs, if desired.
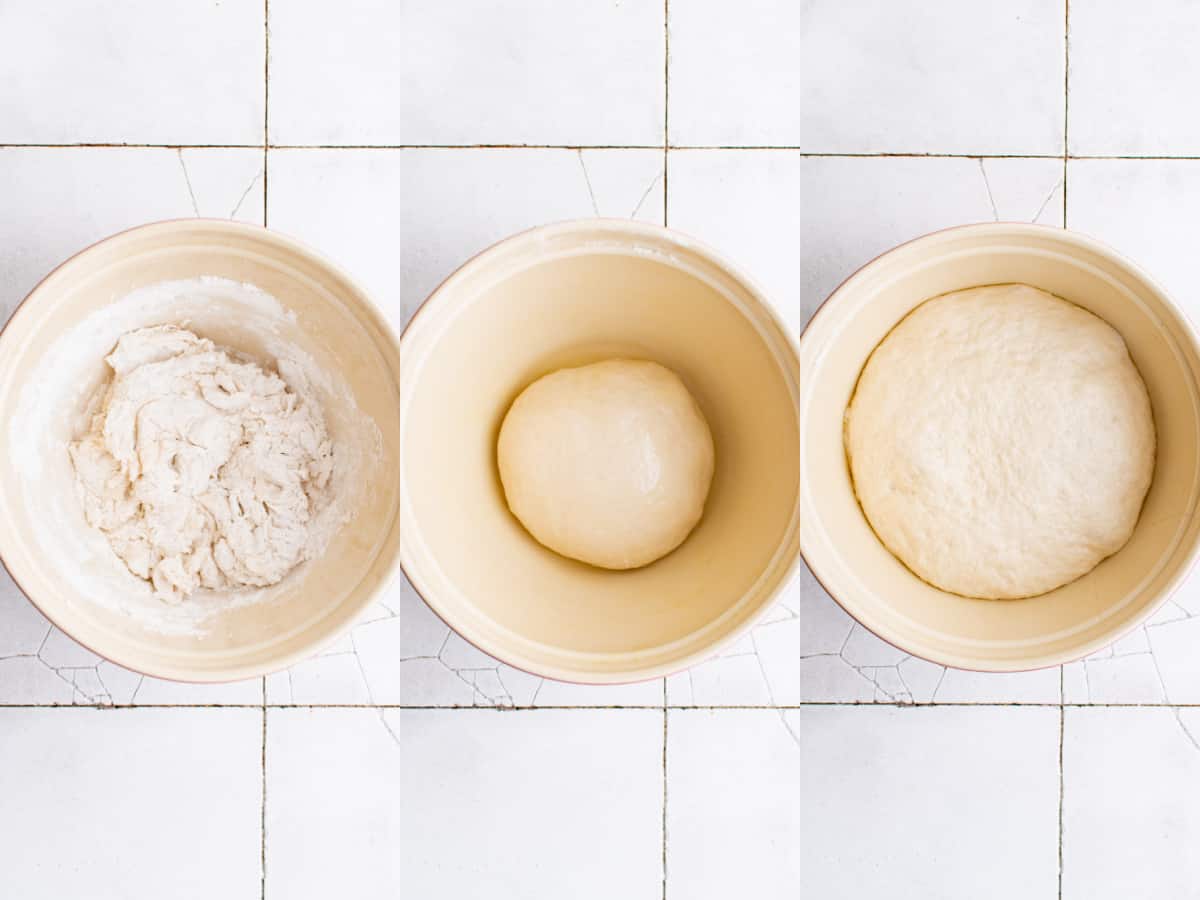
Steps to Make Cream Cheese Stuffed Pretzels
Although the full instructions and recipe below includes quite a few steps, the recipe comes together in six main steps. The dough will need to rest for 1 hour but the other steps come together quickly.
- Prepare the dough.
- Prepare the cream cheese filling.
- Form the pretzels.
- Boil the pretzels.
- Bake the pretzels.
- Add the cinnamon sugar topping.
- Enjoy!
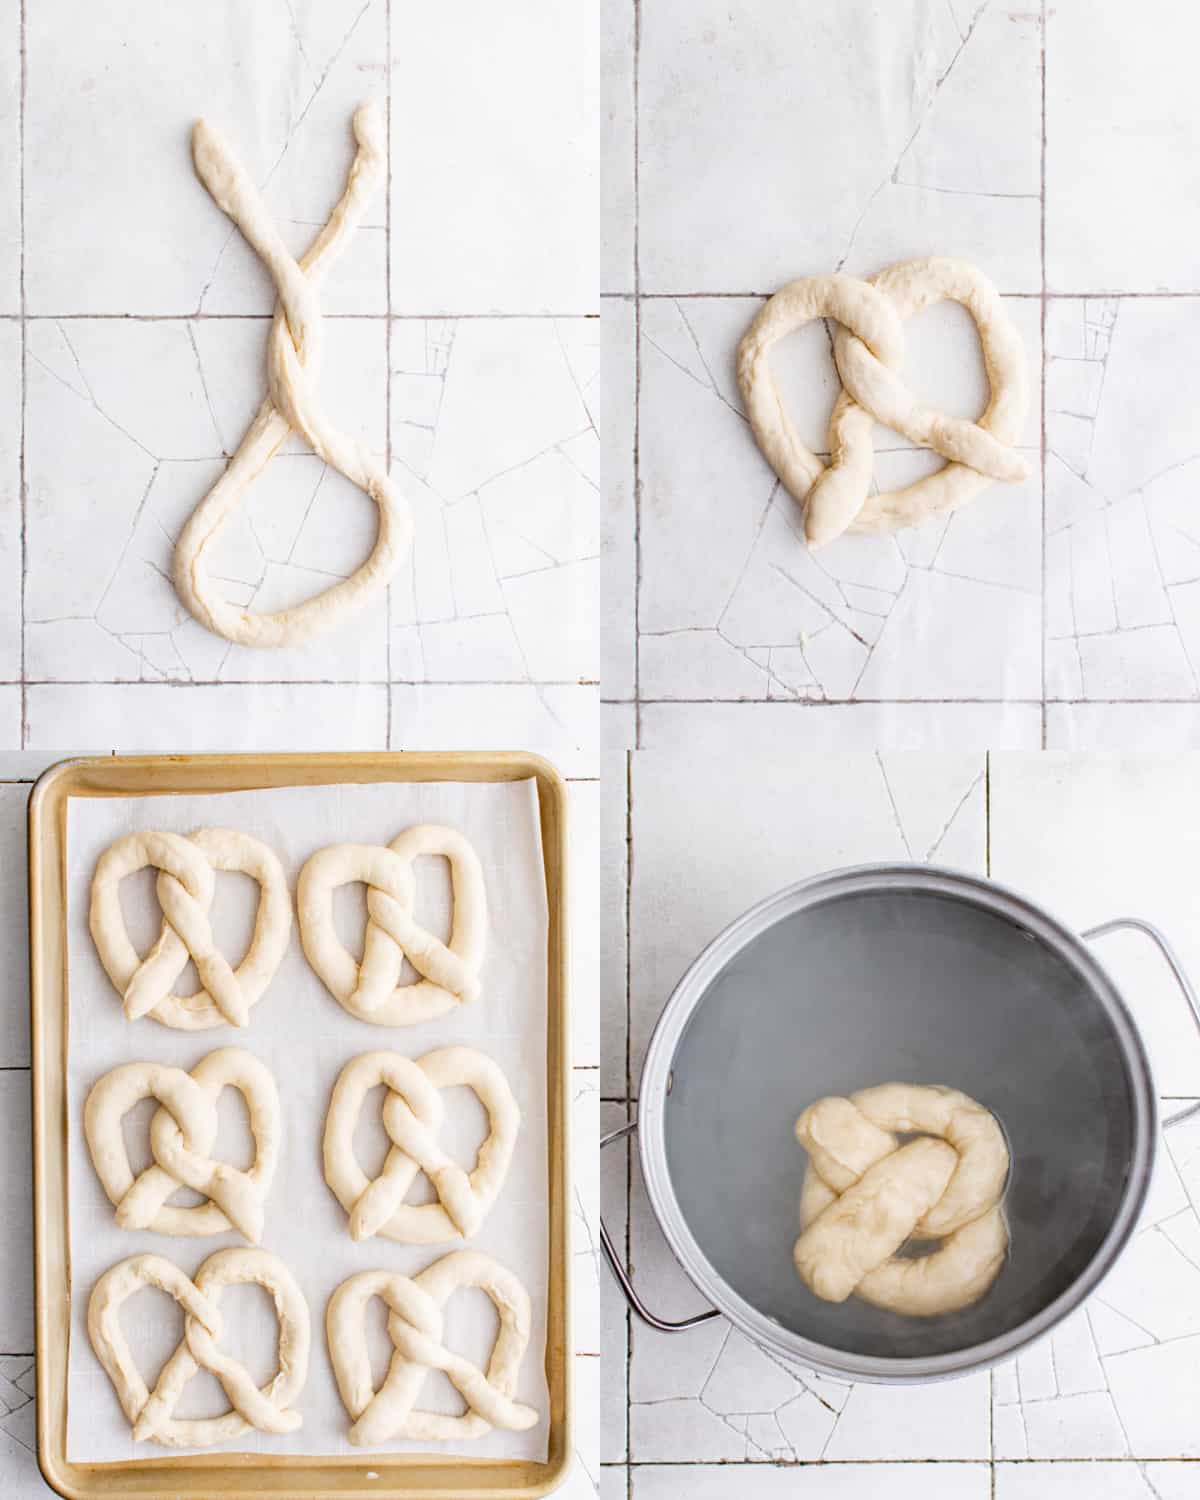
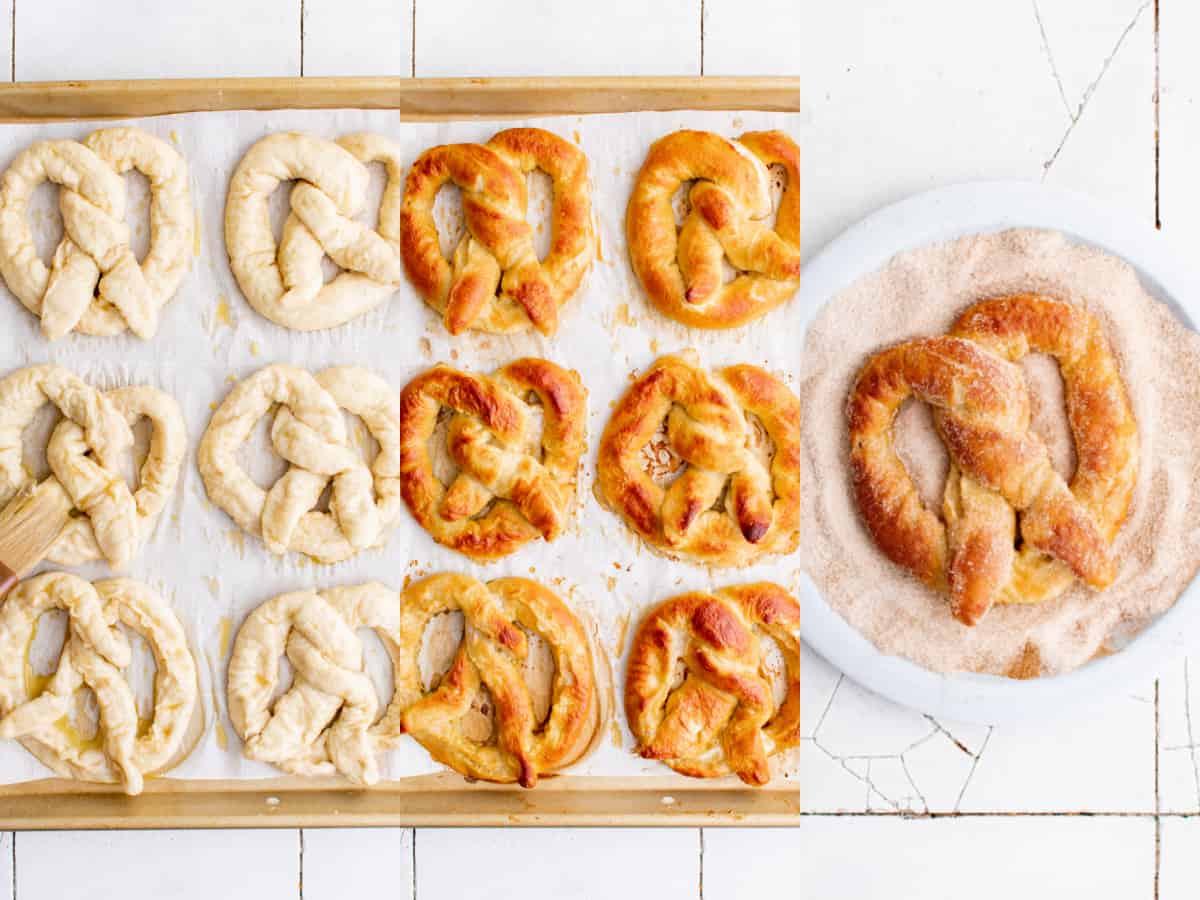
The photos below provide visual assistance when making the pretzels. Be sure to read through the expert tips below to ensure delicious stuffed pretzels every single time!
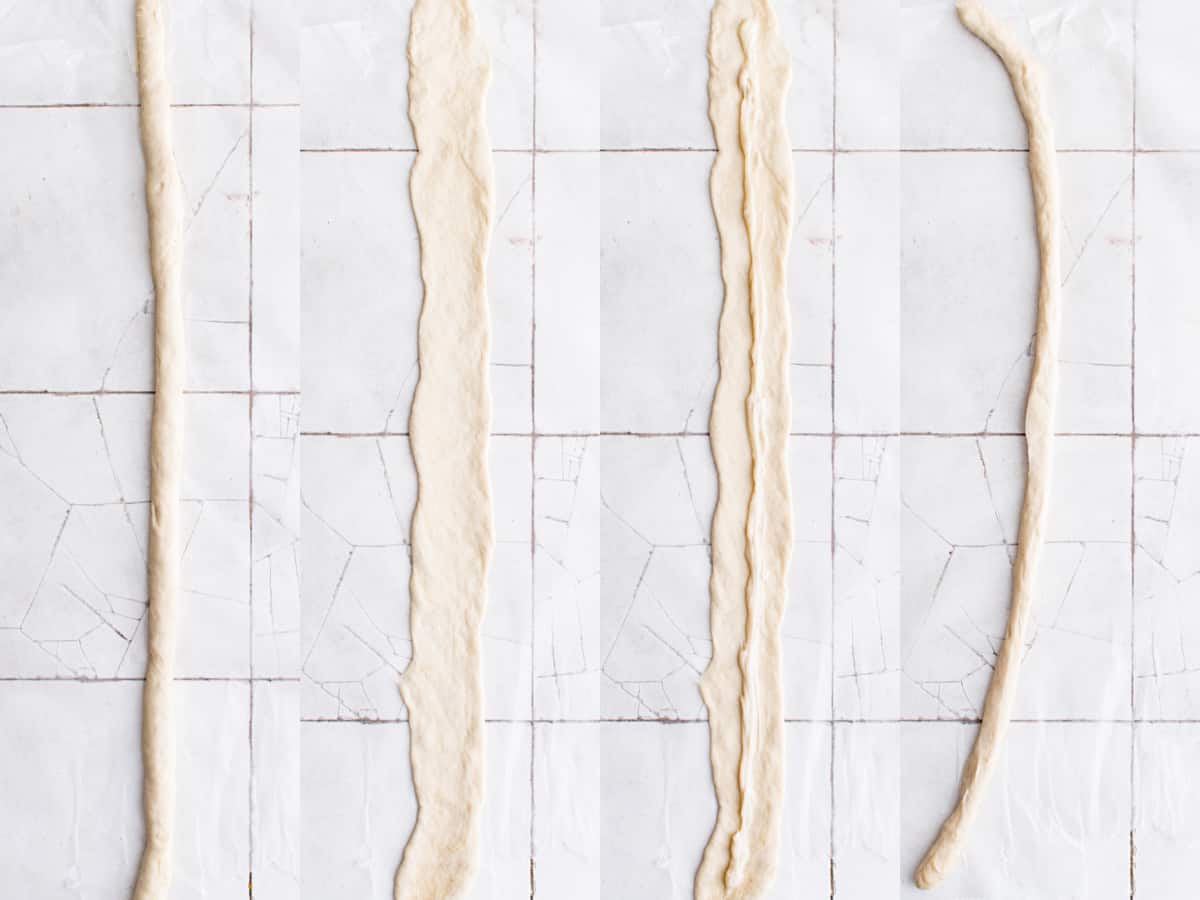
Expert Tips
Making homemade soft pretzels from scratch is easy! Once the yeast is activated, you’ll add ingredients to make a dough, then form and stuff the pretzels for baking. Follow these expert tips for best results.
Working with Yeast:
- Use fresh active dry yeast. Before working with active dry yeast, make sure it is not expired and preferably purchased within the last 6 months for best results.
- Water should be hot but not too hot. When preparing water for yeast, make sure it’s hot, but not too hot. The ideal temperature for yeast activation is 105F to 115F. This will safely make sure that the yeast activates.
- You’ll know when the yeast is ready if, after 5-10 minutes, a bubbly foam is formed.
Homemade Pretzel Dough:
- After sugar and yeast have been activated, slowly add the remaining ingredients until a dough is formed.
- Use a stand mixer or wooden spoon. You can use a stand mixer to mix the dough with a dough hook attachment if you don’t want to mix it with a wooden spoon.
- Work on a floured surface. Pretzel dough can be sticky, so make sure you are working on a floured surface. Also make sure to grease the bowl before allowing them to rise.
- Pinch dough together firmly after adding filling. When filling the pretzels with cream cheese stuffing, pinch together firmly so it doesn’t spill out.
- Do not skip the boiling step! It may be tempting to skip the boiling step, but this process helps the pretzels stay together and gives them a classic chewy texture.
- Add egg wash to brown. If you want a nice brown top, whisk an egg with a bit of water together in a small bowl then brush the tops of the pretzels before baking.
- Allow the pretzels to cool before adding the cinnamon sugar topping. This helps prevent them from breaking.
Variations
- If you’re making these pretzels in the fall months, use some pumpkin pie spice as the seasoning.
- Add finely diced strawberries or blueberries to the cream cheese filling for a fruity-filled pretzel.
- Give this pretzel a kick of heat by omitting the sugar in the cream cheese and adding diced jalapeños.
- Make stuffed pretzel bites by cutting the filled dough into small rectangles instead of a classic pretzel shape.
- Make Italian pretzels by making the filling with no sugar and adding a touch of Italian seasoning. Use a marinara sauce for dipping!
- Add your favorite dip to the inside such as spinach or artichoke dip for a savory treat.
- Make a strawberry cheesecake pretzel by adding Strawberry Cheesecake Dip to the middle as the stuffing.
- Italian mascarpone cheese or Neufchâtel cheese makes a great alternative as well as any plant-based cream cheese substitutes if you don’t prefer to use cream cheese.
Storing & Freezing
Storing: Place the cream cheese stuffed pretzels in an airtight container and store for up to 3 days.
Freezing: We do not recommend freezing these pretzels due to the cream cheese filling.
FAQs
Yes! Boiling soft pretzels for a short time will help them set and create a chewy texture that would otherwise not be there if they just were baked. Boiling also helps to make a crispy crust on the outside.
Unlike their crunchy pretzel counterpart, soft pretzels have a much shorter shelf life because they are made fresh.
For best results, soft pretzels are best stored at room temperature to keep them from drying out.
More Fun Snack Recipes
- Mini Corn Dogs
- Ham and Cheese Pinwheels
- Homemade Churros
- Baked Seasoned Pita Chips
- Sweet and Salty Popcorn
Did you make this recipe? If so, leave a recipe rating and review below.
Cream Cheese Stuffed Pretzels
Ingredients
For the pretzel dough:
- 1 cup hot water, (not boiling)
- 1 tablespoon light brown sugar
- 1 tablespoon granulated sugar
- 2 1/2 teaspoons active dry yeast
- 3 tablespoons unsalted butter, melted
- 1 teaspoon salt
- 3 – 3 1/2 cups all purpose flour
- 1/2 cup baking soda
For the cream cheese filling:
- 8 ounces cream cheese, room temperature
- 2 cups powdered sugar
- 1 teaspoon pure vanilla extract
Optional topping:
- 1/2 cup granulated sugar
- 2 teaspoons ground cinnamon
Instructions
- Whisk the water, brown sugar, granulated sugar and active dry yeast together in a large mixing bowl then let it sit for about 5 minutes or until the yeast starts to activate and puff up.
- Stir in the butter and salt then gradually add in 2 ½ cups of the flour stirring the entire time to combine.
- Turn the dough out onto a well-floured surface and with the remaining cup of flour knead the dough for about 10 minutes.
- Scrape out any remaining bits of dough in the bowl and grease it well with butter then place the dough inside of the bowl and lightly grease the top of the dough as well.
- Cover with plastic wrap or a large towel then place it in a warm space for about one hour or until the dough has doubled in size.
- Using an electric mixer, mix the cream cheese until smooth then add the powdered sugar and vanilla and mix once again until completely combined.
- Cover the bowl and refrigerate while the dough is rising.
- Preheat the oven to 425 degrees Fahrenheit and line a large, low side baking pan with parchment paper.
- Once the dough has risen, divide the dough into 6 equal pieces then roll one of the pieces into an 18-inch rope.
- Use a rolling pin or your hands to flatten out the rope to about 2 inches in width.
- Scoop the cream cheese filling into a large ziploc bag then cut a small hole into one of the corners and push the cream cheese into that corner.
- Pipe out some cream cheese down the center of the flattened pretzel rope, leaving about a half inch of space on the ends without any cream cheese.
- Pinch the sides together and pinch the ends as well then gently press down the pinched areas.
- Twist the rope twice around before forming it into a pretzel shape.
- Repeat the process with the remaining dough then let the pretzels rest for 15 minutes. (If the dough starts to open around the cream cheese while it is resting, press the edges back together before boiling.)
- In the meantime, boil about six cups of water in a large pot over high heat then pour in the baking soda.
- Once boiling, add the first pretzel that you made to the water and let it boil for about 30 seconds then remove the pretzel from the water and place it back on the baking pan.
- Repeat the process with the remaining pretzels.
- If you want a nice brown top, whisk an egg with a bit of water together in a small bowl then brush the tops of the pretzels.
- Bake for 10-12 minutes or until light and golden on top.
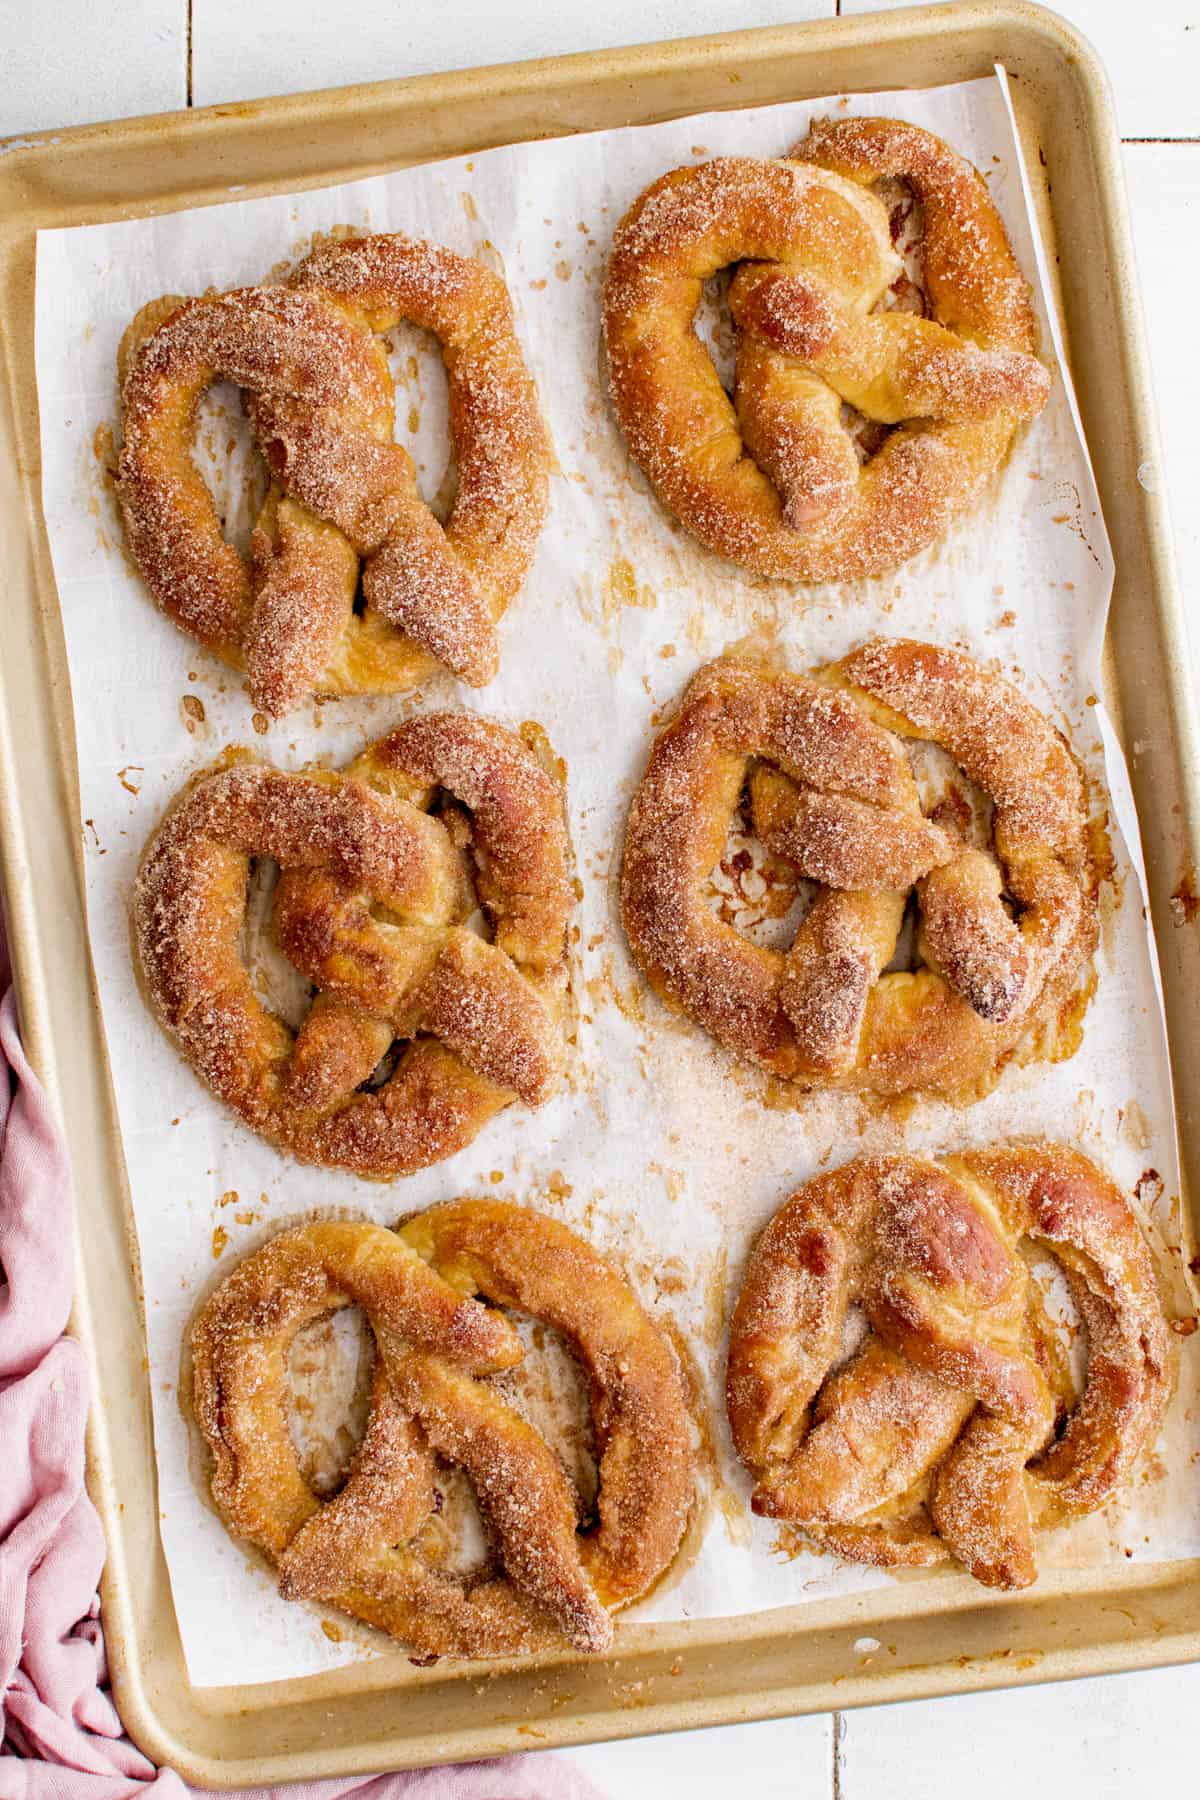
- While the pretzels are baking, whisk together the sugar and cinnamon on a plate or a shallow bowl and once the pretzels have cooled for about 10 minutes dip them into the cinnamon sugar then serve.


If I wanted to make the pretzel bites and take them to a party would they be ok in a crockpot to keep warm? Have you ever tried this?
I haven’t tried storing these in a warm crockpot. My only concern would be condensation forming from the heat that is trapped in with the lid closed. It’s probably best to let them cool completely or at least until they aren’t too warm, then reheat just prior to serving. Enjoy!
CAn’t wait to try these!
Three questions:
1-How long should pretzel bites be baked for?
2-The storage in the airtight container for 3 days–is that in the fridge or just on the counter?
3-And if I wanted to make these a little ahead and then bake when ready to eat…could I make and shape them in advance and then put them in the fridge until ready to bake? (guessing probably not on this last question)
(1) Bake pretzel bites for the same amount of time. They should be baked until golden. (2) Stored at room temperature is fine. (3) I have not tried making them in advance but I don’t see why you couldn’t try this, if it was only up to about 12-24 hours in advance. If you try this, please let me know how they turn out. Enjoy!
I don’t know if you tried to prepare them ahead of time. But I made and filled mine (I also did bites) and left them in the fridge for about 16 hours. When I took them out, I left them on the counter for about an hour and a half before I boiled and baked them. They turned out beautifully!!!
Thanks so much for your feedback! I’m so glad you enjoyed them.
These bring me back to Disney and the delicious food that I got there! Thank you for this recipe and allowing me to make them at home!
This was amazing and such a treat! Thank you!